How to Get Through Print Head Issue On Officejet 6830?

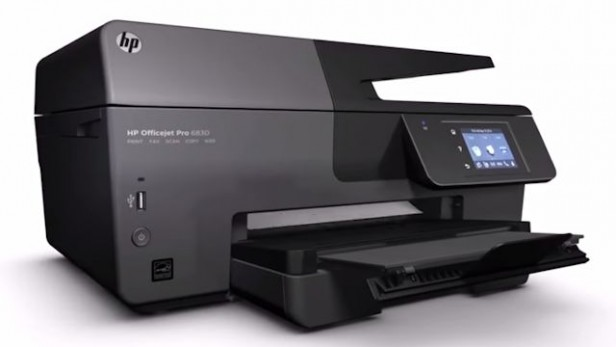
HP 6830 problem with printhead usually occurs due to an excessive ink leakage. At the bottom of the printing unit lies the print head which has been compromised as it gets old. Thus spills an excess ink while you assign any printing task. It could further lead to a dribbling issue.
It bars the printing machine to print any page thus displaying the following message on the unit’s control panel – HP OfficeJet Pro 6830 problem with printhead 0xc19a0003.
To help you solve the problem with the printhead on HP OfficeJet pro 6830 or any other printer, let’s understand more about printhead.
What is Printhead?
The Printhead is the hardware component that helps transfer the ink onto the page. It executes printing by firing tiny ink droplets from print nozzles to create the desired print. When one of these nozzles gets choked or clogged, the print appears faded thus HP 6830 problem with printhead occurs.
What are the Types Of Printhead?
Printhead could either be part of a printer cartridge or built into the printer – depends upon the HP printer model you own.
Type 1:Printheads inside the ink cartridge – For Problem With Printhead on HP 6830
The printhead is built inside the ink cartridge. Such cartridges are also known as integrated printer cartridge. So every time a user tries to replace it with a new ink cartridge it comes with an in-built printhead. So if you’re having a hard time with a faulty ink cartridge, replace it with a new one. It usually solves your HP 6830 problem with the printhead.
Type 2: Inbuilt Printhead inside the printer – For Problem With Printhead on HP Officejet Pro 6830
The printhead for such type of cartridge is included inside the printer. Thus the cartridge installed into the printhead helps create a print. Suck type of printhead requires a replacement after a long time, maybe in years. These printheads would be a little expensive as it would be available nearly around 100 USD.
HP 6830 problems with a printhead – Why it occurs?
The following reasons are described below:
- Misplacing of the failed printhead.
- Printhead’s incompatibility.
- Printhead’s failure
- Damaged printhead
How To Fix HP Officejet Pro 6830 Problem With Printhead?
Step 1: Changing the Ink Cartridge
- Open the HP OfficeJet Print-head cover to first replace the ink cartridge.
- Disconnect all the power cord attached to the printing device.
Step 2: Removing Tall Screws
- Remove all the screws attached to open the inner top cover of your printer. Always ensure to have a star screwdriver of the right size. Users could also prefer a flathead screwdriver to exactly fit all other screws.
- Lift the inner top cover by putting it out. Place it on the other side to get easy access to the printer’s internal action.
Step 3: Handling the Plastic Location
- Mark or make a note of the plastic location tape’s orientation section to easily put this at the straight back side. Also, make a note of the end section which is either towards the left or right side.
- Remove the tape in the next tape now.
Step 4: Manage the Print-Head Base
- Now remove all the screws immediately from the print head’s base to proceed further.
- Carefully try to lift up the printing machine with the printhead and tilt it upside down. Always ensure not to disconnect any of the cables.
Step 5: Clean Up The Printhead
This is the crucial step to overcome a problem with the Printhead hp OfficeJet pro 6830. It requires manual as well as automatic cleaning of the printhead, thus following the instruction carefully.
- Wipe carefully the bottom of the printhead section with a wet tissue.
- Now put everything in its original place and attach the power cable.
- Plug-in the power and turn on the device.
- Go to the printer’s control panel, swipe left, and then go to ‘Setup’ and select the ‘Clean Printhead’ icon.
- It will auto clean all the printheads.
Step 6: Reset the Printer
Rest the printer and try to recover it from the printhead issue.
- Turn on the printer and disconnect the power cord.
- Remove the cord from the main source
- Wait for 60-90 seconds to restart.
- Reconnect all the plug and check if it resolves the error.
If you still continue to experience the same error, you can contact the Errorsdoc.com support where you can receive the class apart solutions from our tech specialist. Our team helps you resolve the issue on your own…at free of cost.
For more articles visit this website


